
Installing the Lowender Plug-In
-
Run the Installer Program
On Windows systems, you can choose to install the AAX, RTAS, or VST versions. The install locations are as follows (the VST locations shown are the installer's defaults, but you may choose different directories during installation if you wish):
AAX C:\Program Files\Common Files\Avid\Audio\Plug-Ins AAX* C:\Program Files(x86)\Common Files\Avid\Audio\Plug-Ins RTAS C:\Program Files\Common Files\Digidesign\DAE\Plug-Ins VST 32 C:\Program Files (x86)\VST 32 VST 64** C:\Program Files\VST 64 *Not a typo, the AAX plug-in gets automatically installed into two locations, so it can be used by both Pro Tools 11 (64-bit mode) and Pro Tools 10 (32-bit mode).
**In Lowender version 1.3, the Windows VST 64-bit file was renamed from Lowender.dll to Lowender_x64.dll. If you had previously installed Lowender 1.2 as a 64-bit VST, please delete the old version, so that your DAW does not attempt to load both 64-bit VST plug-ins.
On Mac systems, you can choose to install the AAX, RTAS, VST, or Audio Unit versions. The install locations are as follows:
AAX /Library/Application Support/Avid/Audio/Plug-Ins RTAS /Library/Application Support/Digidesign/Plug-Ins VST /Library/Audio/Plug-Ins/VST/reFuse Audio Unit /Library/Audio/Plug-Ins/Components If your DAW supports organizing plug-ins by manufacturer, you will find the VST version of Lowender in a reFuse subfolder, and the Audio Unit version in a reFuse Software subfolder.
-
Authorize Your Copy
Log in to your user account and click the DOWNLOAD LICENSE FILE button. You will only need this file temporarily, so we recommend that you save it to your desktop for easy access.
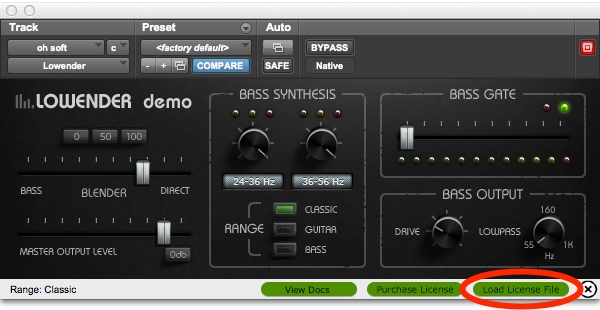
Now launch your host application (DAW), and check that Lowender is showing up in the list of available plug-ins. Insert Lowender on a track, and initially it will come up in demo mode. In the Utility Bar at the bottom of the plug-in window, click the Load License File button:
Now a standard "file open" dialog will appear. Select the Lowender_license_file.xml that you downloaded to your desktop in the previous step, and open it. A message will appear that Lowender is now authorized.
You may now delete the Lowender_license_file.xml from your desktop.
If you are running Lowender as a demo, its settings will not be saved when you close a session, and the Lowender's audio will drop out periodically.